Thursday, 18 August 2016

once the deck was off I set about making a bolt on frame to put all the batteries etc in(mind you it took a while to make sure they all fitted safely )

and because I was putting the batteries under the deck I may as well make it a tip deck


I fitted rib's to the bottom of the battery box for allowing air flow and if needed the addition of warm air later on,

as you can see I have only fitted 3 sides the lithium batteries need to be under compression while in use so one side will float a little to allow compression 
december 2015


after 10,000 km and 2 years I started to strip the old battery box down and take the deck off to make a new battery box for plan "B" to go to riverton and back(90km) on one charge, I had thought long and hard about if I should go higher than 155 volts and as I was wanting more pickup and less power loss from battery sag ( which happens when you can not get the amps to the motor fast enough) so I maxed the voltage and I will let the controller step it down to the motor so now I'm at 340 v (100 batteries at 3.4v each ,I could have gone less batteries and gone 3.8v per cell but as I have learned the 170 volts I had soon dropped to 155 volts just getting out of the drive and since I was at the maximum volts of the controller at 340 volts I needed to keep it up there)


Friday, 13 December 2013

Day 209


I got the ute legal and now to fill in the gaps in the blog
I made a battery box
and fitted the batteries,relays and fuse 

 
put the cables in a shielding tube  
under the ute to the engine bay


Saturday, 24 August 2013

day 111

oh my I am going so slow
I am doing it on saturday mornings.


As you can see with a little help from mark (co-worker) the front mount has been made and I made a shelf for the controller and vacuum pump (if you notice the vacuum reserve is a fire extinguisher )

I put in the main battery cables to the deck I looked at the tool box for weeks to see if I could fit all the parts and batteries in it and gave up trying to fit it all in it was 200 mm to small so I am going to make a wooden tool box to put all in ( batteries,contactors,fuse and dc (150v)to dc (12v) converter.)
Tested the water pump and had a bad day ( put the power in the wroung way and cooked the circuit    board ) so I needed to get a new pump to cool the controller,
A fellow ev builder said that toyota prius cars have a 12v pump on them so I looked in to that and got a surprise to get a new pump for a $109 sweet,the hose fittings on it was 16mm and the controller hose I had put on was3/8( about 10mm) so I put a reduser in the line after the pump and tested it without the controller hooked up (just in case it put out to much pressure ) all whent well so I am going to use it,
Put the vaccum pump through its paces and it fell flat (it took 30 seconds to recover for just one pump on the foot brake) now to get a replacement , did some trading and got a better pump (it only takes 3 seconds to recover now )


I have spent a few days thinking and planing
And then I put in the relays to run the two pumps and the contactors (in the battery box ) and a fuse box for all the new wiring

Saturday, 15 June 2013

Day 40

As you can see it has been a while since my last chat so here is whats been done so far,
I got over to the engineers to chat about the bill, they came to the party and reduced the clutch and engine mount to less than I was expecting so the bill is bearable and a big thanks to them.
My work mate finished the frount motor mount today so I will bolt it in on monday and then I will post some pictures.


After a chat with my work mates I am putting in a shelf across the engine bay to mount the controller and vacuum pump and tank (as for the vacuum tank its an old fire extinguisher ) it was also mentioned that I should rubber mount it to allow the gards to move other wise they may crack.

After a bit of thinking I am going to cut a hole in the back of the battery box slightly bigger than the battery so I can put the last set in the box the whole will also there to let the main power cable out also.
I am looking into flexable sheath for the main cable as I am required to have the main high voltage in orange sheath and the price is the same( almost I have to buy 50 meters of flex for the same price as the solid and corners I may end up with 20 meters left over)

Tuesday, 4 June 2013

Day 29


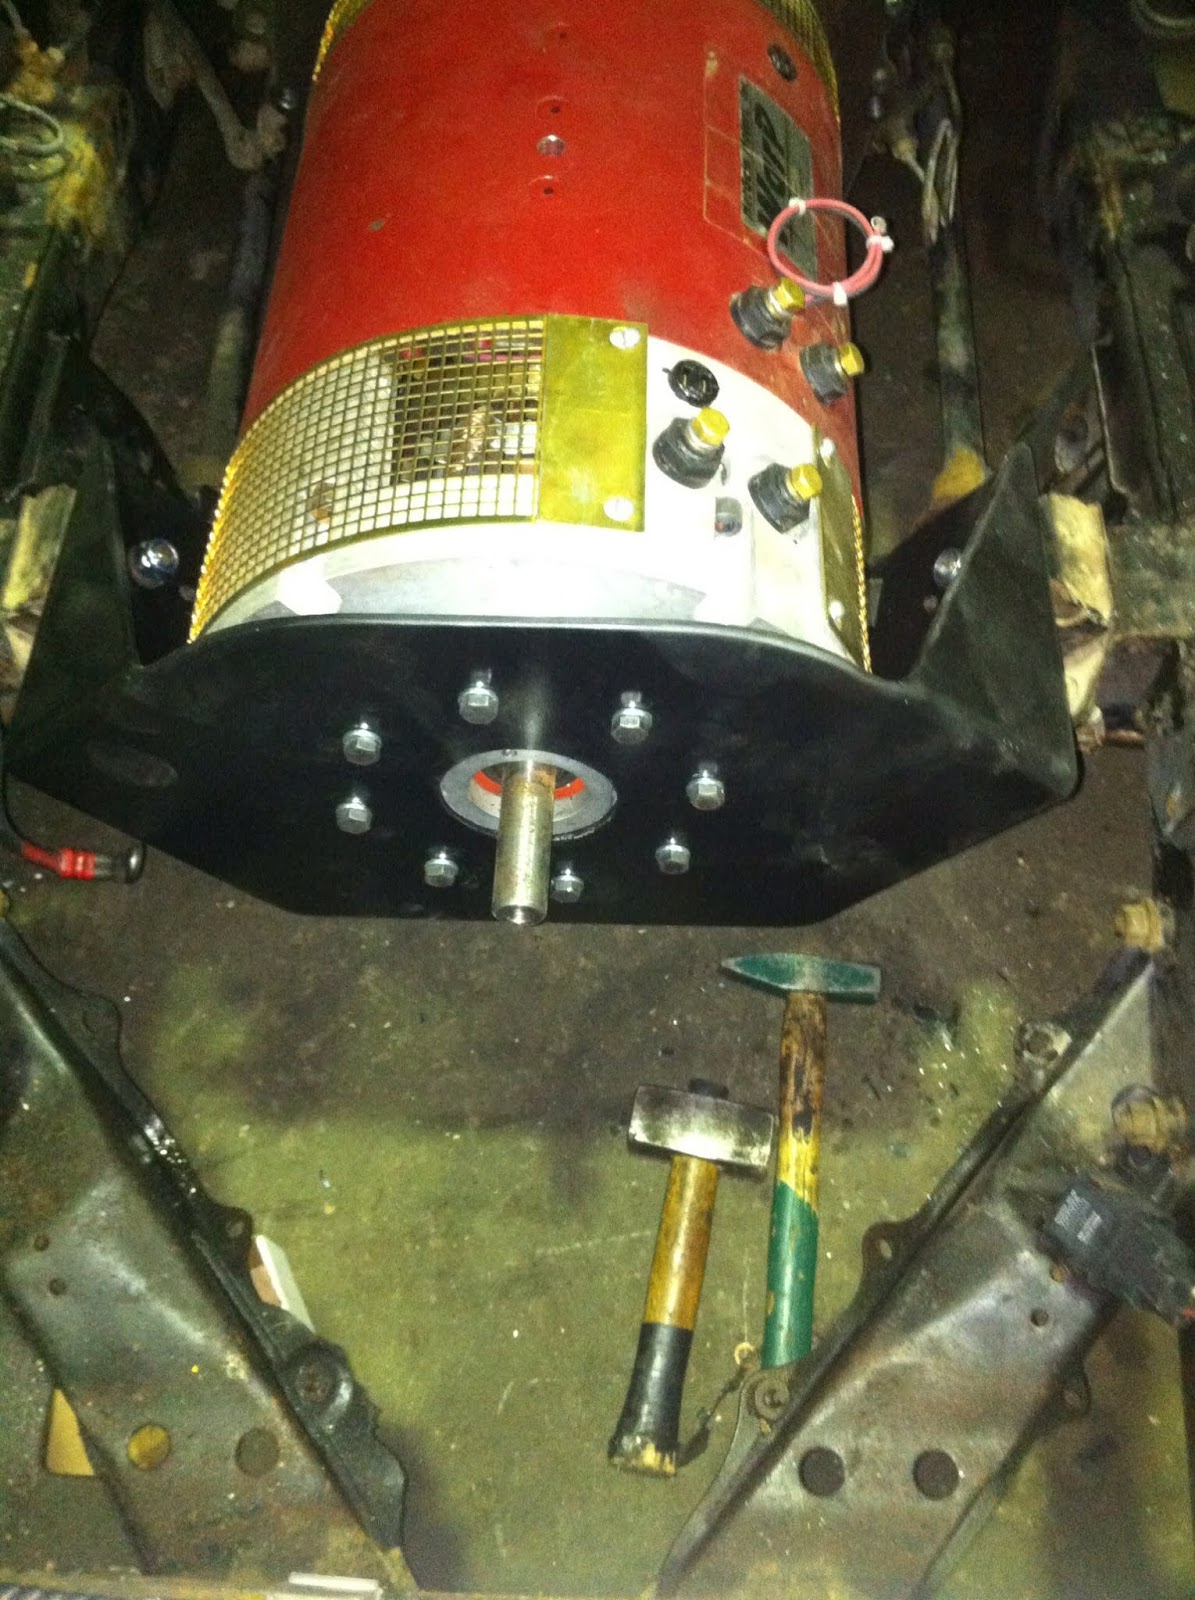
I have got the motor and gear box adaptor made (a sore point at the moment as I have 30mm more than I should have if you notice there is a bearing in the middle of the flywheel mount I asked them to bush the centure of the motor sharft as it was made to take the gearbox sharft tip 

and a bill way to large I am cooling down before I talk to them 
my suggestion if you are going to get work done make sure you give it to them as a drawing and get a price before they start)


and I got the engineer to trim the flywheel they took the ring gear ( the starter motor uses it to turn the old motor) and some of the back to lighten it ( thats why its shiny ) got it balanced 
and then on saturday I put them together with the clutch then put it in now to make the front mount and controller mount


Saturday, 25 May 2013

Day 19

"The pump is ordered for cooling the controller, I will need to remove the heater core in the ute as it leaks. The plan so far is to pump the water/coolant though the air con radiator at the front of the ute though the controller to the heater core (inside the ute) and then back to the pump ( I may put a 100 watt water heater in the line for a bit more heat if needed )
(edit: I was told that I will need two pumps and circuits as the heater will need 80 c to warm the ute so that half will be done later )